The short answer
If the capture has not happened yet, press Win + Shift + S and drag over exactly what you want: the "crop" happens before the file exists, and the result lands on the clipboard ready to paste (on Windows 11 the Snipping Tool also saves a copy to Pictures\Screenshots), with a notification that opens an editor if you want changes. If the screenshot is already saved, open it in the Photos app, hit Edit, and the crop handles are the first tool. Those two cover most cases; the other two methods below cover the rest.
Method 1: Win + Shift + S, the crop that happens first
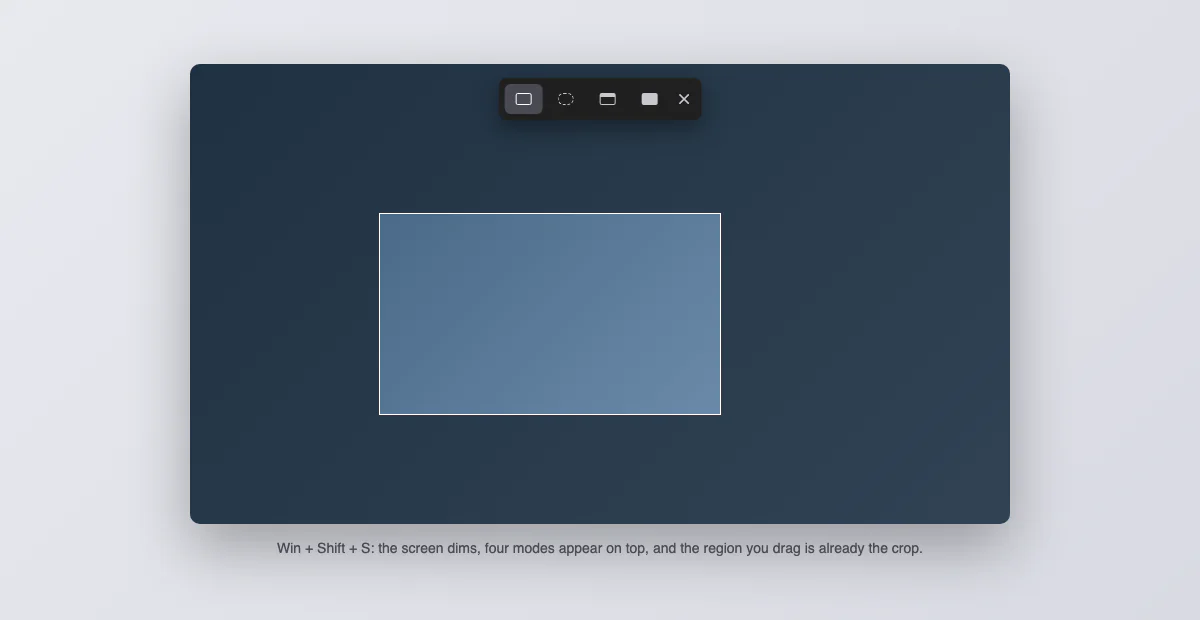
The snipping overlay offers four modes along the top: rectangle, freeform, window and full screen. The rectangle is the everyday one, and dragging it well replaces editing entirely. Two useful habits: capture slightly generous and trim later only when the target is moving (a video frame, a disappearing menu), and use window mode when the subject is one app, because it crops to the window edge perfectly with zero pixel-hunting. The capture sits on the clipboard for immediate pasting; clicking the corner notification opens it in the Snipping Tool editor for anything more.
Method 2: the Snipping Tool editor
The same editor that opens from the notification also opens any existing file: launch Snipping Tool from the Start menu, open the image, and the crop icon in the toolbar brings up draggable corner handles over the picture. Apply, then Save As to keep the original intact. This editor is also where the ruler and the pen live, so a crop plus a highlight happens in one stop. It is the least famous of Windows' image editors and quietly the most convenient for screenshots specifically.
Method 3: the Photos app, for aspect ratios
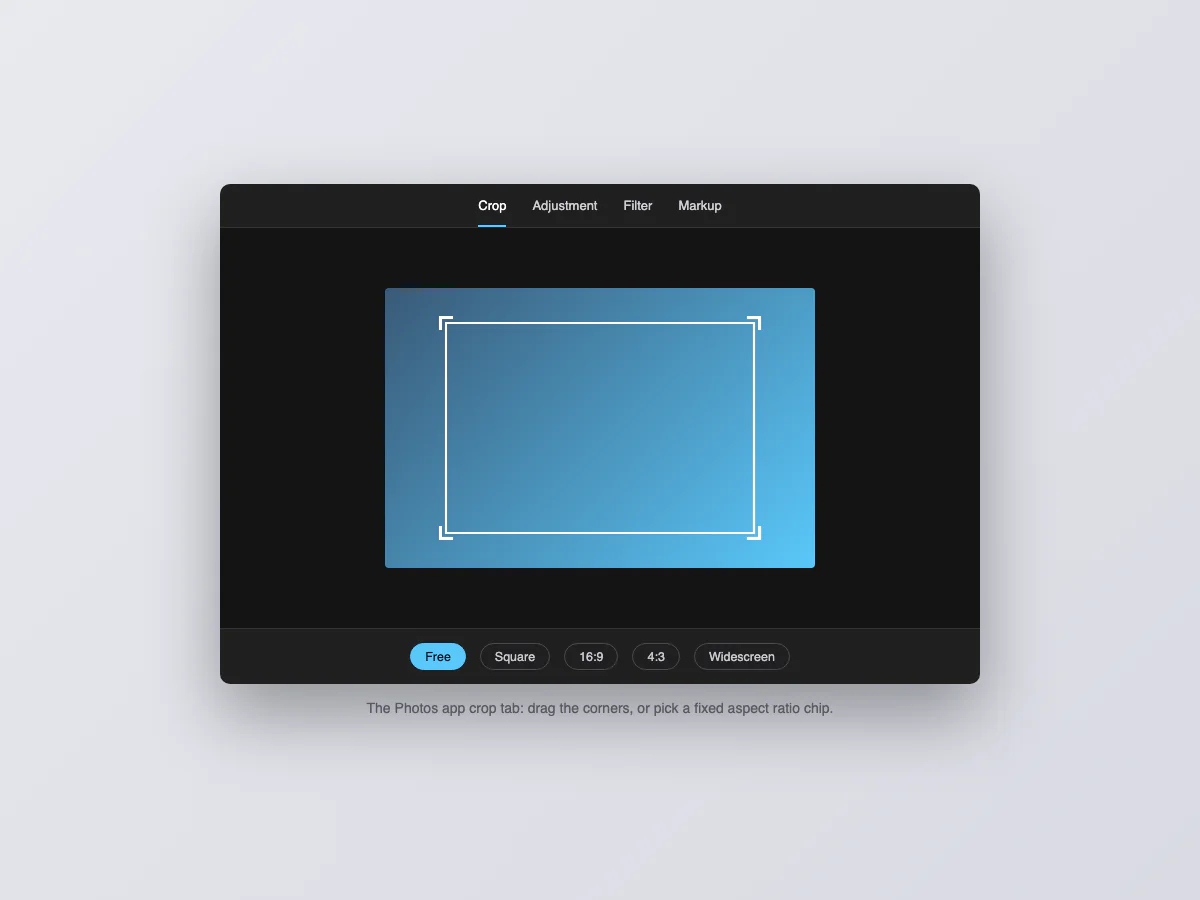
Double-click any screenshot and it opens in Photos; press Edit (or Ctrl + E) and crop is the first tab. The useful part here is the aspect ratio presets: square, 16:9, 4:3 and friends, which lock the selection shape while you position it. Social images, video thumbnails and slide graphics all have fixed ratios, and dragging a free selection to eyeball 16:9 is exactly the kind of fiddling the presets remove. Save a copy is the default, so originals survive.
Method 4: Paint, for exact pixels
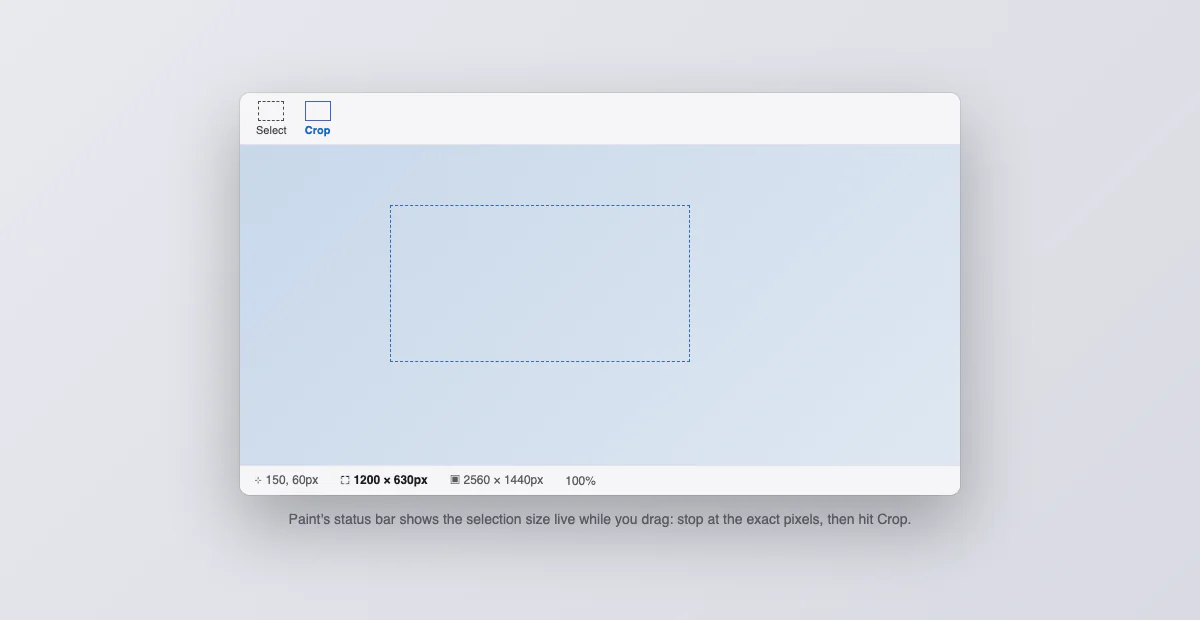
Old, unglamorous, and still the precision tool. Open the screenshot in Paint, drag a rectangular Select, and read the selection size live in the status bar at the bottom; when it says exactly 1200 × 630, hit Crop on the toolbar. Nothing else built into Windows shows selection dimensions while you drag. Paint's Resize dialog then scales to exact targets, with pixels or percentages. For pixel-perfect assets it is still the most precise of the four.
Which method when
| Situation | Use |
|---|---|
| The capture has not happened yet | Win + Shift + S, drag exactly what you need |
| Crop plus arrows or highlights | Snipping Tool editor |
| A fixed aspect ratio (16:9, square) | Photos and its ratio presets |
| Exact pixel dimensions | Paint, with the live size readout |
The clipboard flow: paste, no folder hunting
For a capture headed straight into a chat or document, skip files entirely: Win + Shift + S, drag, and Ctrl + V in the destination. You never open a folder (Windows 11 still keeps a copy in Pictures\Screenshots unless you switched off "Automatically save screenshots" in the Snipping Tool settings; Windows 10 keeps none). Add Win + V, the clipboard history, and you can take three region captures in a row and paste them in any order. If a "lost" screenshot was taken this way, clipboard history is also where it still lives; our guide to where Windows screenshots are saved maps every other location, and how to screenshot on Windows covers every shortcut. On a laptop with a shared PrtScn key, see the Dell, HP and Lenovo guides.
Repeating the same crop, capture after capture
Windows has no "remember my selection" option, so the trick is to stop needing one. When the repeated subject is an application, Win + Alt + PrtScn (Game Bar) or the window mode of Win + Shift + S captures that window and nothing else, which makes every capture identically framed with no cropping step. Documenting one app across twenty screenshots this way produces twenty files that already match.
The crop that protects you
Before a screenshot leaves your machine, the predictable danger zones are worth a look: the taskbar (clock dates the capture, tray icons name your apps), browser tabs and bookmark bars, notification toasts that slid in mid-capture, and Explorer sidebars full of folder names. The safest version of that check is the one that happens automatically: capturing only the region you mean to share with Win + Shift + S, so there is never a sensitive edge to forget.
Circles, rounded corners and frames
The freeform snip cuts irregular shapes, but the result sits on a white background rather than a transparent one, and no built-in Windows tool crops to a circle cleanly. If the goal is a screenshot that looks presentable (rounded corners, padding, a background), that is framing rather than cropping: our free screenshot beautifier does it in the browser, no install, and leaves the screenshot itself untouched.
On older Windows versions
Win + Shift + S arrived with Windows 10's 2018 update. Before that, the classic Snipping Tool (the old one, with the New button) does the region-capture-as-crop job, and Paint has cropped since the beginning of time. On any Windows old enough to lack both, PrtScn plus Paint's Select and Crop is the two-step that always worked. The capability was always there; the shortcuts got shorter.
Straighten before you crop
Cropping assumes straight content, and photographed whiteboards or scanned pages rarely oblige. The Photos app is the one built-in tool with a free-angle straighten dial: it sits next to the crop handles in Edit mode, tilts the image by fractions of a degree, and auto-crops the edges the rotation exposes. Paint and Snipping Tool only rotate in 90 degree jumps. The order matters: straighten first, crop second, because a crop committed before the rotation will sit crooked afterward and need redoing.
Where the cropped file ends up
Each tool has its own habit, and knowing them prevents the where-did-it-go hunt. Photos saves a copy by default, next to the original with a suffix. The Snipping Tool editor asks on close or via Save As, defaulting to Pictures, Screenshots. Paint saves over the opened file unless you Save As, which is the one habit worth changing: open, Save As first, then crop, and originals survive every experiment. If a crop seems to have vanished entirely, our guide to where Windows screenshots are saved lists every folder these tools touch.
Cropping on a Mac too?
Half of desks run both systems. The Mac side has its own tricks (a floating thumbnail editor, a Command + K crop in Preview, and a selection-memory feature Windows lacks), all covered in our guide to cropping screenshots on a Mac.