The short answer
Press Shift + Cmd + 4 and drag over the area you want. The file lands on your Desktop. That one shortcut covers most of daily life; everything below is for the cases it does not.
The five shortcuts
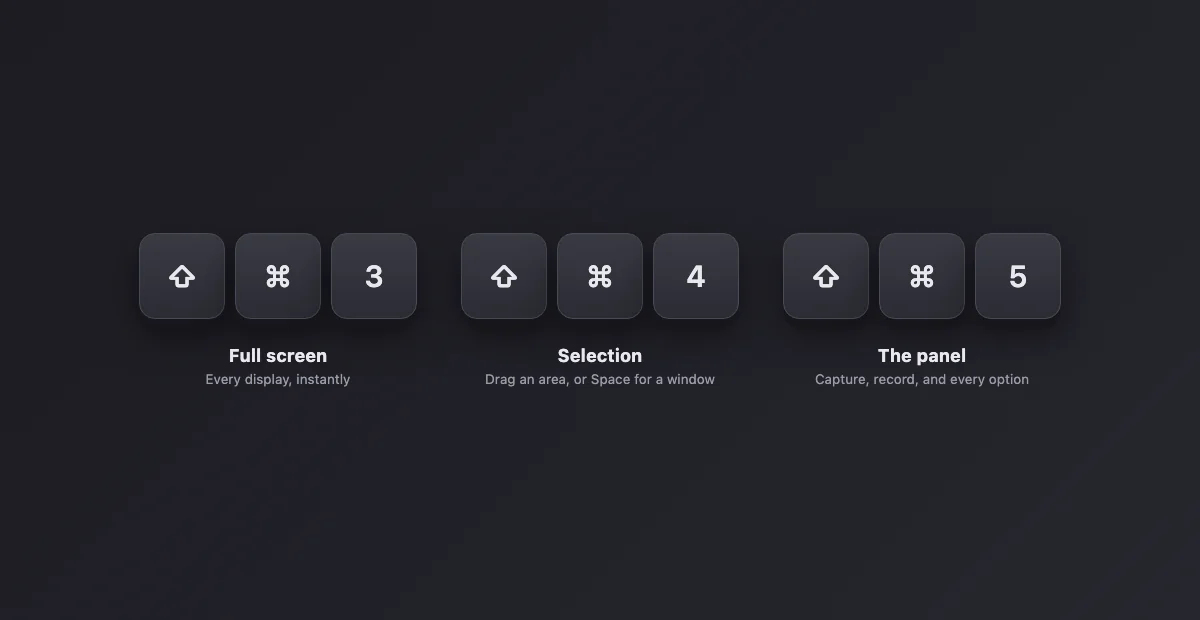
| Shortcut | What it captures | Where it goes |
|---|---|---|
| ⇧⌘3 | The entire screen (every display) | Desktop |
| ⇧⌘4 | An area you drag over | Desktop |
| ⇧⌘4 then Space | One window, with its shadow | Desktop |
| ⇧⌘5 | Opens the panel: capture or record, with options | Wherever you choose |
| ⇧⌘6 | The Touch Bar, on Macs that have one | Desktop |
Add Ctrl to any of them and the capture goes to the clipboard instead of a file, ready to paste with ⌘V. That variant alone eliminates most desktop clutter. Every combination, including the Ctrl variants and the recording keys, is on one page in our Mac screenshot shortcuts cheat sheet.
On a MacBook: what is different
The shortcuts are identical on a MacBook Air, a MacBook Pro, an iMac or a Mac mini. What changes on a laptop is the hardware around them. Model-by-model details for the Air are in how to screenshot on a MacBook Air.
The function row and Fn
The screenshot shortcuts never use the function row, so remapping it to standard F-keys does not break them. One key does trip people up: on recent MacBooks the F5 position is the dictation (microphone) key. Pressing it starts dictation, not a capture.
Trackpad precision
Dragging an exact rectangle on a trackpad is harder than with a mouse. The modifiers in the next section help, and so does keeping the click held: nothing commits until you release, so you can pull back after overshooting. Three-finger drag (System Settings > Accessibility > Pointer Control > Trackpad Options) lets you drag the selection without holding the click. If precision really matters, capture generously and crop afterwards.
Touch Bar models
⇧⌘6 captures the Touch Bar itself. You can also add a Screenshot button to the Touch Bar (System Settings > Keyboard > Touch Bar Settings > Customize Control Strip) that opens the capture panel with one tap.
Retina files are big
MacBook screens are Retina, so a full-screen capture is pixel-doubled: a 14-inch MacBook Pro produces a 3024 × 1964 PNG of several megabytes. Capture a selection instead of the whole screen, use the Ctrl clipboard variant and let the receiving app compress, or switch the default format to JPG (see below) if your captures mostly travel by email.
Straight to your iPhone
Copy a capture with the Ctrl variant and, with Universal Clipboard (same Apple Account, Handoff on), paste it into any app on your iPhone. For getting part of your Mac screen into WhatsApp or Instagram on the phone, nothing is shorter.
The tricks inside Shift-Command-4
The selection mode has modifier keys almost nobody uses, and they are the difference between one attempt and five:
While dragging, hold Space to move the whole selection without changing its size. Hold Shift to lock one edge and resize only the other. Hold Option to resize from the center outward. And if you started wrong, press Esc instead of capturing garbage.
The window mode (⇧⌘4, then Space, then click a window) captures the window with its drop shadow on a transparent background. Hold Option while clicking to skip the shadow. It also works on the Dock, the menu bar, and individual menus.
The panel: Shift-Command-5
This is mission control for captures. The ⇧⌘5 panel offers full screen, window and selection buttons, plus screen recording (full or selection), and the Options menu that the other shortcuts silently obey: where files save, whether a timer runs, whether the floating thumbnail appears, whether the pointer is included.
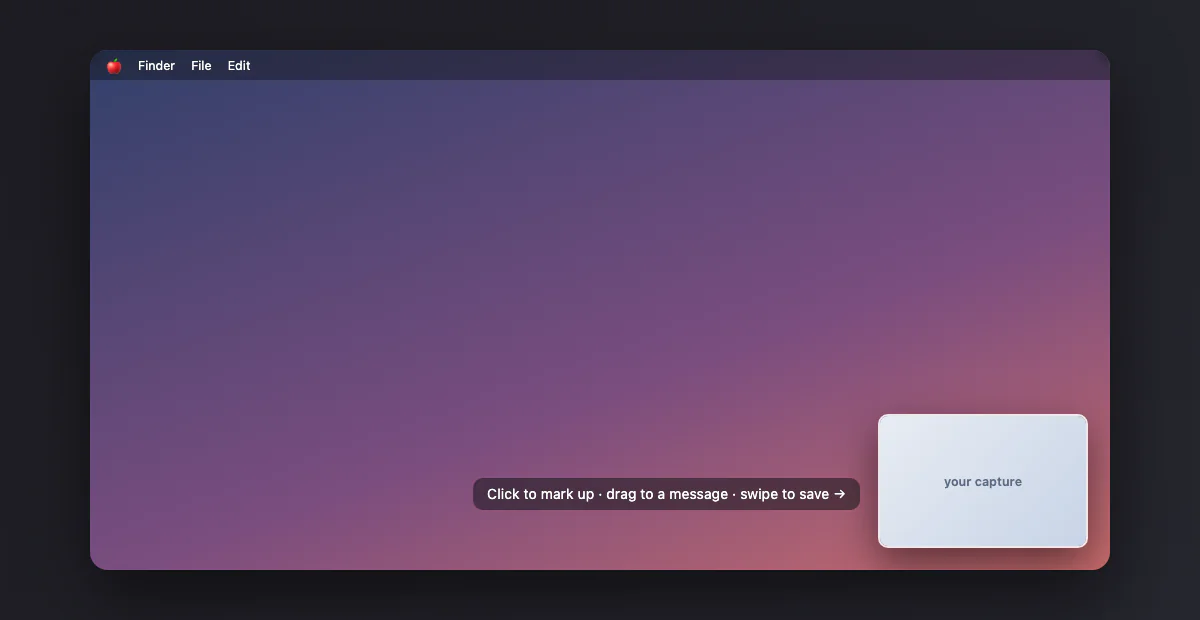
That floating thumbnail in the corner is more useful than it looks: click it to mark up and crop before the file saves, drag it straight into a message or email, or swipe it away to save immediately. If you find it slow, turn it off in Options and captures write to disk instantly.
Where the files go, and the name they get
By default every capture saves to the Desktop as "Screenshot [date] at [time].png". You can change the destination in the ⇧⌘5 Options menu (Documents, Clipboard, Mail, Preview or a custom folder). The full detail, including the hidden settings, has its own guide: where screenshots go on a Mac.
When the shortcuts do nothing
Three usual causes, in order. First, check System Settings > Keyboard > Keyboard Shortcuts > Screenshots: the shortcuts can be disabled or remapped, and some apps steal them. Second, some corporate profiles block captures outright. Third, apps showing DRM video (streaming services) black out the video area by design; that is not a bug you can fix. The longer checklist is in Mac screenshots not working.
Timed screenshots, for menus that close
Some things refuse to be captured because pressing the shortcut closes them: open menus, tooltips, drag states. The timer solves it: press ⇧⌘5, open Options, choose a 5 or 10 second delay, click capture, and use the countdown to set the screen exactly how you want it. When the timer fires, whatever is open stays in the shot, hover states included.
For menus specifically there is a faster path: ⇧⌘4 then Space works on an open menu like on a window, capturing just the menu with clean edges. It also captures the Dock, a single Dock icon's context menu, or the menu bar itself.
Change the file format (PNG is not mandatory)
macOS saves PNG by default: lossless, sharp, and heavy for full-screen captures on a Retina display. If your screenshots are destined for email or docs where size matters, switch the default to JPG in Terminal:
defaults write com.apple.screencapture type jpg followed by killall SystemUIServer.
Valid types include png, jpg, pdf and tiff. The same command with type png restores the default. This is a system-wide setting for the built-in shortcuts; it does not touch what third-party tools produce.
Multiple displays and external monitors
With more than one display connected, ⇧⌘3 captures every display as its own file, one per screen, all landing in the same destination. The selection modes ignore display boundaries: you can start a ⇧⌘4 drag on one monitor and finish on another, though captures that span displays with different scaling can come out with odd dimensions. The window mode captures whichever window you click, on whichever display it lives. On a MacBook with the lid closed (clamshell mode on an external monitor) that means only the external display; with the lid open plus a monitor, you get two files per press.
Editing after the capture: Markup is enough
Click the floating thumbnail and you land in Markup: crop, arrows, boxes, text, a signature if you need one, and a share button straight to Mail or Messages. For the annotations most screenshots need, this covers it without opening any app. If the thumbnail already vanished, opening the PNG in Preview offers the same toolbar under Tools > Annotate. The one thing Markup does not do is prettify: no backgrounds, no padding, no window framing, which is the gap the next section closes.
Full-page captures of websites
The shortcuts capture what is on screen, so a whole scrolling web page needs the browser. Safari's File > Export as PDF writes the full page in one go, and Chrome's DevTools has a Capture full size screenshot command. The exact steps, and why long captures cut off, are in our guide to full-page screenshots in Chrome.
The Terminal power tool: the screencapture command
Every one of these shortcuts is a front-end for a command line tool called screencapture. Two one-liners cover what the UI cannot: screencapture -T 5 shot.png waits five seconds first, and screencapture -R100,100,800,600 area.png grabs exact pixel coordinates, the way to take the identical crop every day for a changelog or report.
The quick problem table
| Symptom | Cause and fix |
|---|---|
| Shortcut does nothing | Disabled or remapped in System Settings > Keyboard > Keyboard Shortcuts > Screenshots; re-enable or pick new combos |
| File never appears | It went to the clipboard (Ctrl variant) or the thumbnail is still floating; wait or swipe it away |
| Capture is black | DRM-protected video: by design, not fixable |
| Cursor missing from the shot | Enable Show Mouse Pointer in the ⇧⌘5 options |
| Third-party app cannot capture | Grant it Screen Recording permission in Privacy & Security |
| Files pile up on the Desktop | Change Save to in the panel options, or use Desktop Stacks as a stopgap |
The cursor: invisible by default, included on demand
Mac screenshots omit the mouse pointer, which is usually right and occasionally maddening, because sometimes the cursor position is the whole point of the capture. Two ways to include it: in the Shift + Command + 5 panel, Options, enable Show Mouse Pointer, which applies to full-screen captures from then on; or from the Terminal, screencapture -C ~/Desktop/shot.png takes one capture with the cursor and changes nothing else. For pointing at things after the fact, an arrow in Markup remains clearer than a captured cursor anyway.
Capturo for Mac: every capture, annotated and recorded, in one native tool
- Capture a region or window and annotate in place: arrows, text, and pixelated blur for anything private
- Record the screen or an area (⇧⌘9) with system audio, composed live over a gradient background, then turn short clips into a GIF (up to 45 s)
- Gradient backgrounds, padding and your own branding on every export
- Native Swift, about 2 MB, no subscription: $29 once
Make the capture presentable
A raw screenshot does the job; a framed one looks deliberate. If it is going into a document, a post or a bug report, run it through our free screenshot beautifier: padding, background, rounded corners and a window frame, entirely in your browser. If you are choosing a third-party tool, we compared the options in the best screenshot apps for Mac and, for video, the best screen recorders for Mac.