The short answer
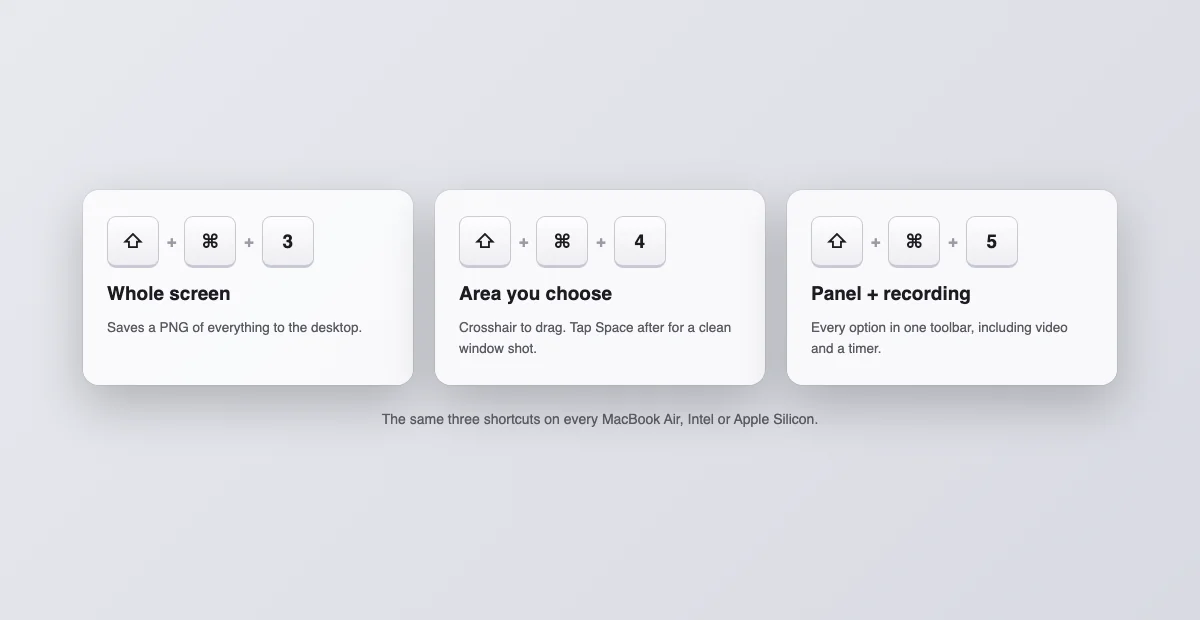
Every MacBook Air uses the same three screenshot shortcuts as every other Mac: Shift + Command + 3 for the whole screen, Shift + Command + 4 for an area you drag, and Shift + Command + 5 for a panel with every option including screen recording. Files land on the desktop as PNGs named "Screenshot" plus the date and time (before macOS Ventura the name was "Screen Shot"). The area and full-screen shortcuts go back to the first Air in 2008; the Shift + Command + 5 panel arrived in 2018 with macOS Mojave.
First: is your Mac actually an Air?
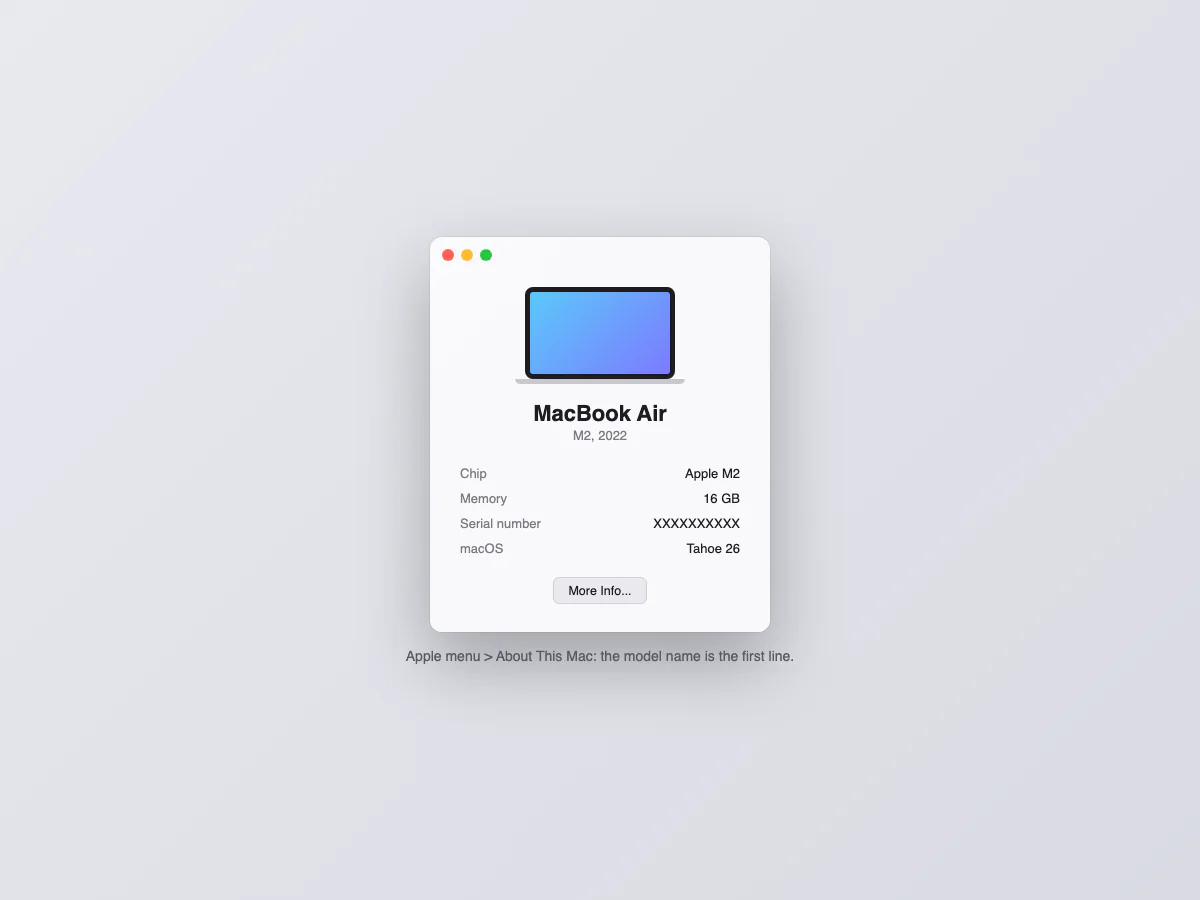
Worth thirty seconds, because half the "MacBook Air" advice online is written for MacBook Pros. Click the Apple menu in the top-left corner, then About This Mac. The first line names your model and year: "MacBook Air (M2, 2022)", "MacBook Air (13-inch, 2020)", and so on. If it says MacBook Pro or iMac, everything below still works, because the shortcuts are identical across Macs; only the model table stops applying.
The model matters less than people expect. Intel Air from 2018 or an M4 from 2025: same shortcuts, same file format, same destination. What changes per model is the screen resolution, which decides how big your screenshot files are. That table is next.
Model by model: what a full screenshot measures
| MacBook Air model | Screen | Full screenshot size |
|---|---|---|
| Intel, 2018 to 2020 | 13.3" | 2560 × 1600 px, roughly 2 to 5 MB |
| M1, 2020 | 13.3" | 2560 × 1600 px |
| M2 / M3 / M4, 13-inch | 13.6" | 2560 × 1664 px |
| M2 / M3 / M4, 15-inch | 15.3" | 2880 × 1864 px, up to 8 MB |
Those numbers are double the "logical" resolution because the Air's Retina display renders at 2x. It is why a screenshot pasted into a chat looks enormous: the file is genuinely twice the size of what you see. If that bothers you, the fix is at the end of this guide.
The three shortcuts, step by step
Whole screen, Shift + Command + 3. Instant. A thumbnail floats in the bottom-right corner for a few seconds; click it to crop or mark up, ignore it and the PNG saves to the desktop.
An area, Shift + Command + 4. The cursor becomes a crosshair. Drag over what you want. Three refinements worth knowing: hold Space while dragging to move the selection, press Escape to cancel, and tap Space before dragging to switch to window mode, where one click captures a whole window with its shadow, cleanly.
The panel, Shift + Command + 5. A toolbar appears with every capture mode as a button, plus Options: a timer of 5 or 10 seconds, a different save destination, and whether the floating thumbnail shows. This panel is also where screen recording lives; the two rightmost buttons record the full screen or a selection as a video.
Copy instead of save
Add Control to any shortcut and the capture goes to the clipboard instead of the desktop: Control + Shift + Command + 4 grabs an area straight to paste with Command + V into WhatsApp, a doc, or an email. Nothing lands on the desktop, nothing to clean up later. If your screenshots seem to vanish, check whether you have been pressing this variant by accident.
Where the files go, and how to change it
Default is the desktop. Open the Shift + Command + 5 panel, click Options, and pick Documents, Clipboard, or "Other Location" for any folder; the choice sticks for future captures. The full story of finding, renaming and relocating captures is in our guide to where screenshots go on a Mac.
What the Air keyboard does and does not have
Three things Air owners look for and never find. There is no Print Screen key; that is a Windows concept, and the Mac shortcuts above replace it. There is no Touch Bar, on any Air ever made: articles telling you to customize Touch Bar screenshot buttons are describing MacBook Pros from 2016 to 2021, so you can skip that advice entirely. And the Touch ID button in the top-right corner is for unlocking, not capturing; pressing it mid-screenshot does nothing.
What every Air does have is a physical function row. The screenshot shortcuts do not use it, so F5 and F6 doing brightness or dictation changes nothing about capturing. The Fn/globe key in the bottom-left corner is also not involved; if pressing your shortcuts triggers emoji pickers or input switching, you are hitting Fn combinations, not the screenshot ones.
Not an Air? The same keys work everywhere
The shortcuts in this guide are macOS shortcuts, not Air shortcuts. On a MacBook Pro everything behaves identically, with a couple of laptop-wide extras (Touch Bar, trackpad, closed lid) covered in our Mac and MacBook screenshot guide. On a desktop Mac with a Windows keyboard, the PrtScn key does nothing by default; use the same Shift + Command combos, or remap keys in System Settings. Every combination on one page: our Mac screenshot shortcuts cheat sheet.
When a shortcut does nothing on your Air
The quick fixes are below; the full checklist is in Mac screenshots not working.
| Symptom | Fix |
|---|---|
| Nothing happens on Shift + Command + 3 | System Settings > Keyboard > Keyboard Shortcuts > Screenshots: re-enable or reset the bindings. Another app may have claimed them. |
| Capture works but no file appears | The destination changed. Check Options in the Shift + Command + 5 panel, and search "Screenshot" in Spotlight. |
| Black captures in some apps | Streaming apps block captures of protected video. The tool is fine; the content refuses. |
| Desktop is drowning in screenshots | Right-click the desktop and turn on Stacks, or change the destination to a folder. |
| Startup disk almost full | Base Airs ship with 256 GB and screenshots pile up fast at 5 MB each. Sort the destination folder by size and clear the old ones. |
Mark it up before it leaves
The floating thumbnail that appears after each capture is also the fastest editor the Air has. Click it and Markup opens with crop handles, arrows, boxes, a text tool and a signature tool, and Done saves the edited version without ever launching an app. The same tools live behind the Space bar in Finder via Quick Look. For pointing at a button in a screenshot destined for a colleague, those five seconds in Markup replace an entire image editor, which on a base Air also saves storage. More ways to trim a capture are in how to crop a screenshot on a Mac.
Capturo: a 2 MB capture app for a laptop that hates clutter
- Capture a region or window and annotate in place: arrows, text, and pixelated blur for anything private
- Record the screen or an area (⇧⌘9) with system audio, composed live over a gradient background, then turn short clips into a GIF (up to 45 s)
- Gradient backgrounds, padding and your own branding on every export
- Native Swift, about 2 MB, no subscription: $29 once
Make them smaller, and make them presentable
Two finishing moves. To stop shipping 5 MB PNGs, capture areas instead of full screens, or convert to JPG when a file is for sharing rather than editing. And when a capture is going somewhere public, a portfolio, a post, a bug report, drop it into our free screenshot beautifier: padding, background and a window frame in the browser, nothing to install, which is fitting for an Air.