The short answer
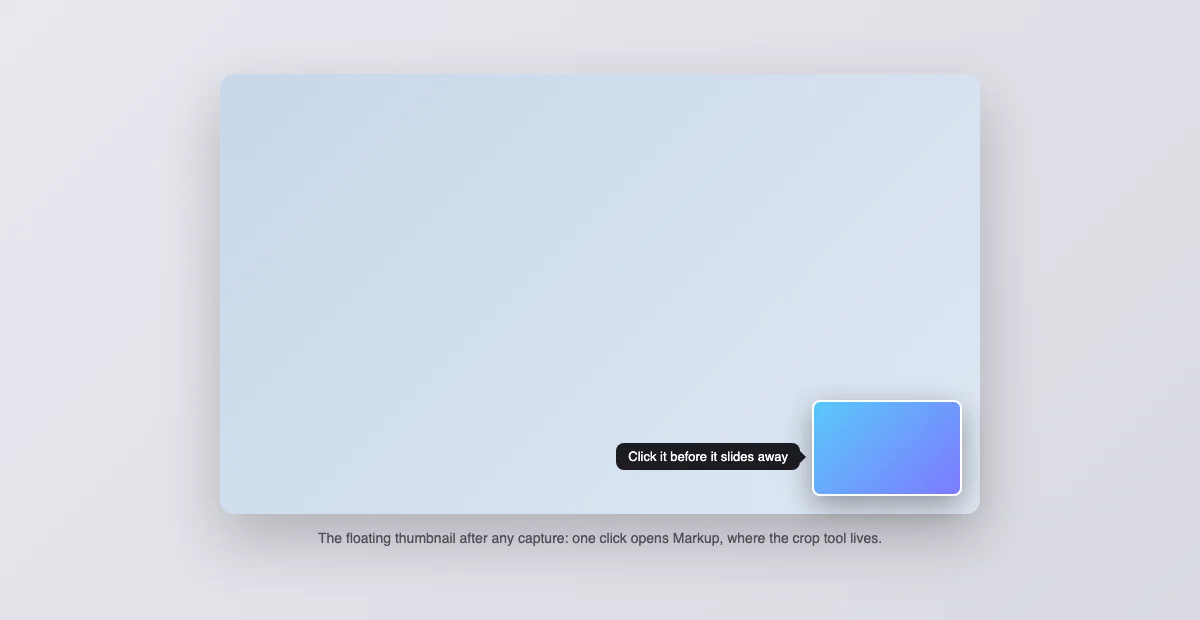
Right after you take a screenshot, a thumbnail floats in the bottom-right corner for about five seconds. Click it, drag the crop handles in the Markup view that opens, hit Done, and the saved file is already cropped. That is the fastest path on a Mac and it needs zero apps. Everything else on this page is for when the thumbnail is gone or you need more precision.
Method 1: the floating thumbnail, in detail
Take any capture (Shift + Command + 3, 4 or 5) and click the thumbnail before it slides away. It opens in Markup: the crop icon sits in the toolbar, the handles drag from every edge and corner, and Done saves the cropped version straight to your destination. Two useful extras while you are in there: the same view draws arrows and boxes, and dragging the thumbnail instead of clicking it drops the uncropped file into any app. If the thumbnail annoys you more than it helps, it can be turned off in the Shift + Command + 5 panel under Options.
Method 2: Preview, for precision
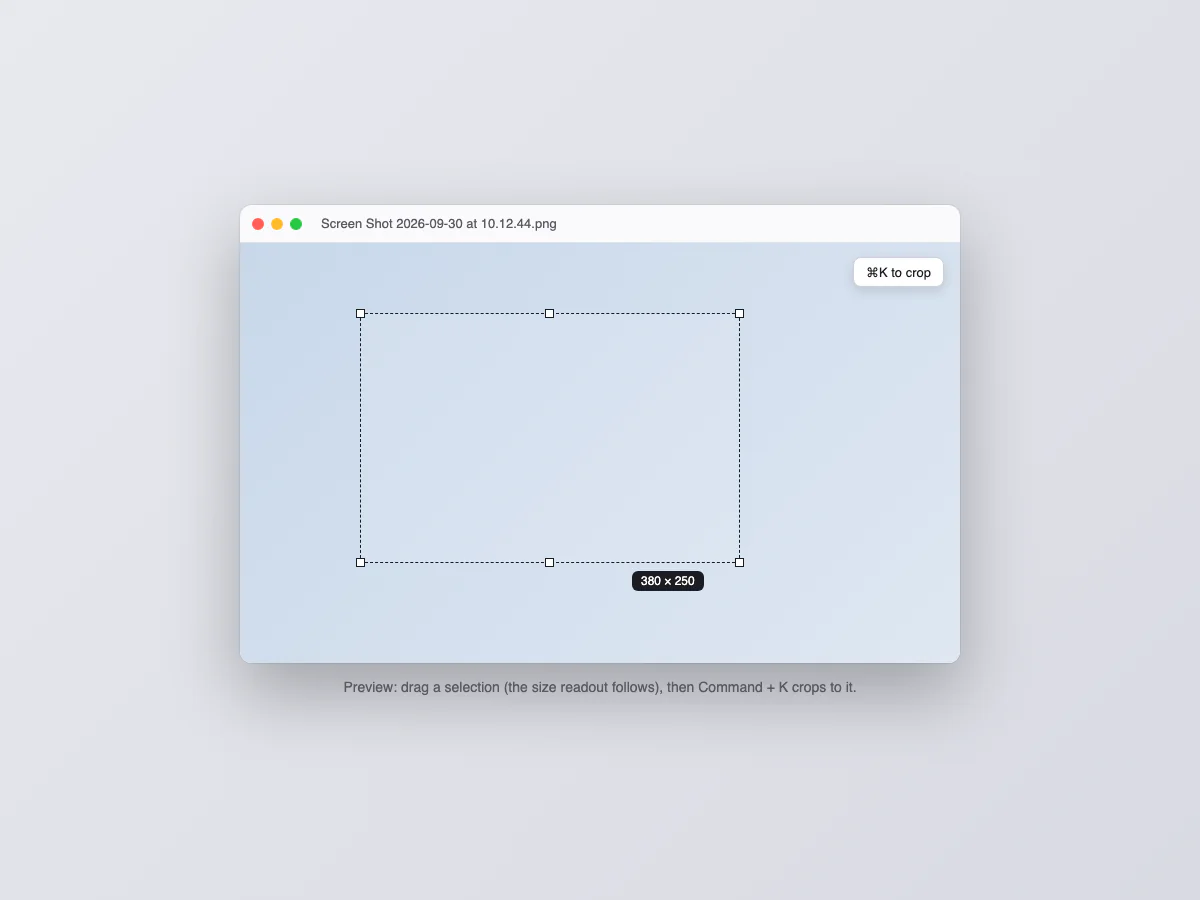
For a screenshot already sitting on the desktop, open it in Preview, drag a selection rectangle over the part you want, and press Command + K (or Tools, Crop). While you drag, a small readout shows the selection size in pixels, which makes this the method for exact dimensions: a 1200 by 630 social image, a 800-wide blog asset. The selection can be nudged and resized before committing, and Command + Z undoes a bad crop. Preview autosaves, so duplicate first (Command + Shift + S) if you want the original kept.
Method 3: Quick Look, without opening anything
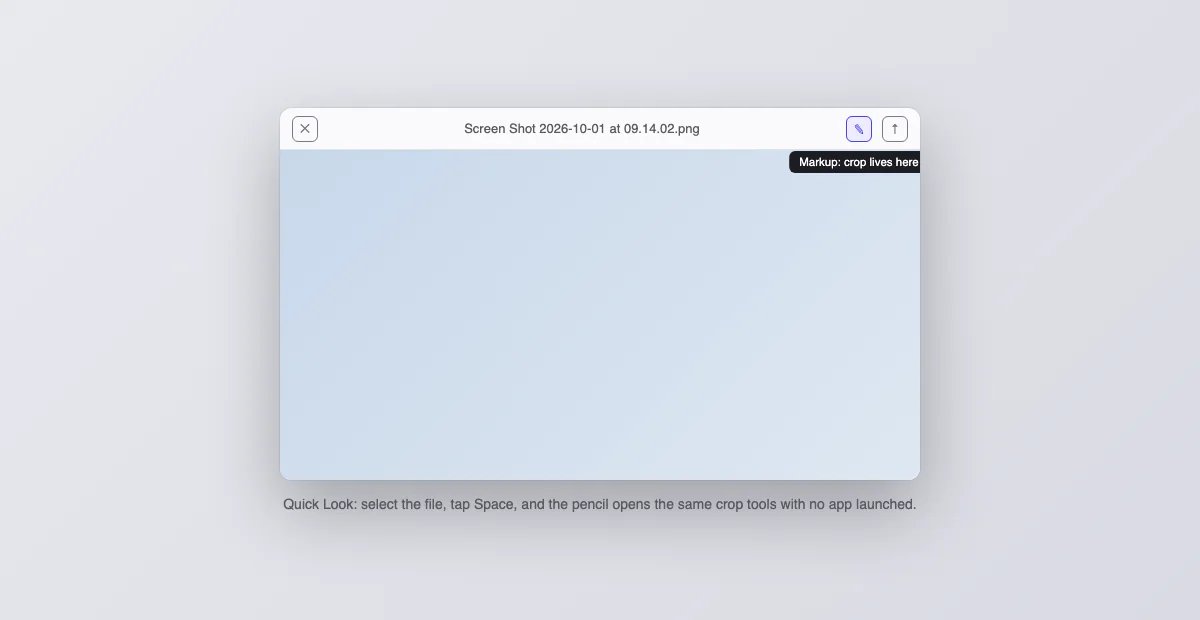
Select the file in Finder, tap Space, and click the Markup icon in the Quick Look toolbar (the pencil). The same crop tool from the thumbnail flow appears, edits save in place, and you never launched an app. This is the right method when you are already in a Finder window triaging a pile of captures.
Method 4: skip the crop by capturing the right area
The cleanest crop is no crop. Shift + Command + 4 turns the cursor into a crosshair to capture exactly the region you want: hold Space while dragging to move the selection, and tap Space before dragging to switch to window mode, which captures one window cleanly with its shadow. Most crops people perform in Preview are corrections for having used the full-screen shortcut out of habit. The full shortcut reference is in our Mac screenshot guide.
Cropping out the menu bar, the Dock and the shadow
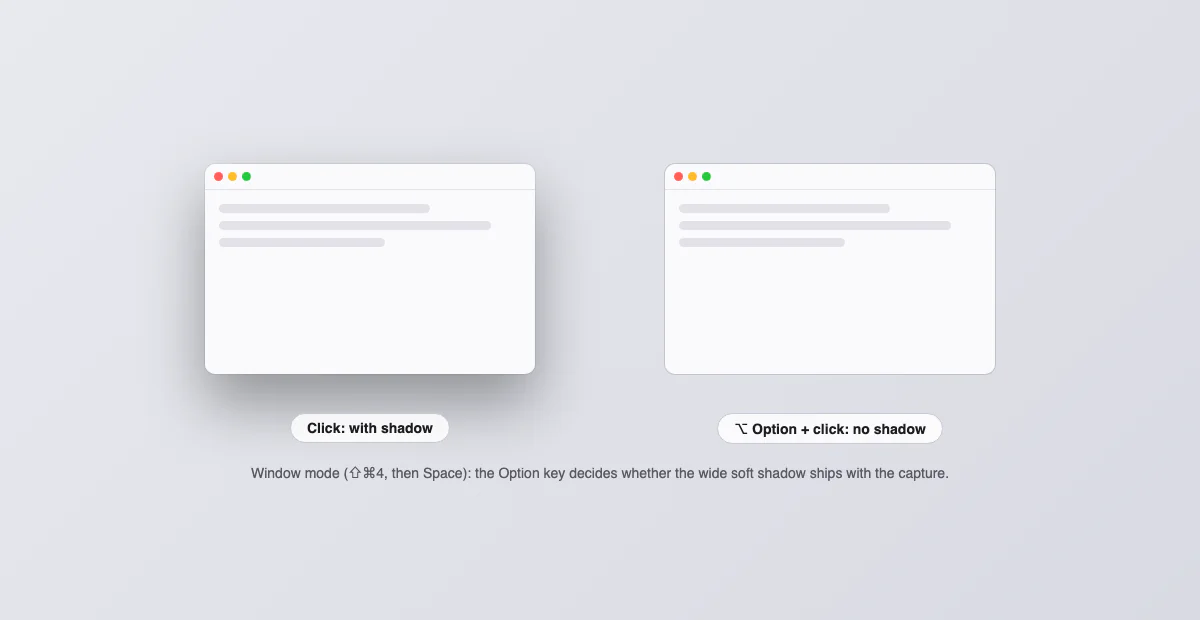
The three things people crop out most often have capture-time solutions. The menu bar and Dock disappear when you capture a region or a window instead of the full screen, so the habit fix is switching from Shift + Command + 3 to 4. The window shadow, that wide soft border around window captures, is controlled at capture time too: in window mode (Shift + Command + 4, then Space), hold Option while clicking the window and the shadow is omitted, giving you a tight rectangle with nothing to trim. And a cluttered desktop background peeking around a window stops being a problem the moment the shadowless window capture replaces the full-screen habit.
Straightening and rotating first
Cropping assumes the content is straight; a photographed whiteboard or a rotated PDF page is not. Preview rotates in 90 degree steps with Command + L and Command + R, which covers screenshots that came in sideways. For small angle corrections there is no free-rotate in Preview: the practical route is the Photos app's straighten tool, or accepting the tilt. Rotate before cropping, because cropping first locks you into a frame that will be crooked after any rotation.
Which method when
| Situation | Use |
|---|---|
| You just captured, seconds ago | The floating thumbnail |
| Exact pixel dimensions needed | Preview with the size readout and Command + K |
| Old file in a Finder window | Quick Look Markup with Space |
| The capture has not happened yet | Shift + Command + 4 and take only what you need |
The clipboard shortcut: a crop with no file at all
When the cropped area is headed for a chat or a doc, skip the file entirely: Control + Shift + Command + 4 captures a dragged region straight to the clipboard, ready for Command + V. No desktop file, no thumbnail, no cleanup afterward. This one shortcut replaces the entire capture-open-crop-save-drag ritual for the most common case there is, sending a piece of your screen to another person.
Cropping many screenshots the same way
Two honest options. The elegant one: the Shift + Command + 5 panel remembers your last selection, so if you capture the same region repeatedly (a window area, a dashboard corner), set the selection once and every following capture is pre-cropped identically, no editing ever needed. The brute-force one: for a folder of existing files that need the same treatment, the Shortcuts app has a Crop Image action that runs over many files at once; Preview itself has no batch crop.
Where the cropped file ends up
Same place as any screenshot: the thumbnail and Quick Look flows save over or next to the original in its normal destination, and Preview saves in place unless you exported. If a crop seems to have vanished, it is almost always a destination question rather than a crop question; our guide to where screenshots go on a Mac covers every case, including moving the default folder somewhere sane.
Cropping to exact dimensions
Two-step recipe for a pixel-perfect asset. First crop roughly in Preview with the selection readout to the right proportions. Then use Tools, Adjust Size to scale the result to the exact target, with "Resample image" checked. Going in this order (crop then scale) avoids the stretched look of scaling first. Remember that Retina screenshots measure double their on-screen size, which is why a "small" capture reads 2000 pixels wide; our MacBook Air guide has the per-model numbers.
The crop that protects you
Half of cropping is not aesthetics but privacy. Before a screenshot leaves your machine, the parts worth cutting are predictable: the menu bar (your Wi-Fi network name and the clock that dates the capture), browser tabs (titles reveal more than people think), bookmarks bars, notification popups that slid in mid-capture, and sidebars full of file and contact names. The clipboard shortcut above is the privacy tool here too: capturing only the region you mean to share beats trusting yourself to remember cropping five sensitive edges afterward.
On older macOS versions
The floating thumbnail and the Shift + Command + 5 panel arrived with Mojave in 2018. On anything older, those two methods simply do not exist, but nothing else on this page changes: Shift + Command + 4 has captured regions since time immemorial, Preview has cropped with Command + K for decades, and the clipboard variant with Control works too. So on an old MacBook the workflow is capture with 4, crop in Preview, done; only the conveniences are newer, not the capability.
When the built-in tools stop being enough
The native flow covers occasional cropping well. Where it wears thin is volume: capturing daily, annotating every shot, blurring the private bits, recording. That is what our own app exists for.
Capturo for Mac: capture the exact area, then make it presentable, in one tool
- Capture a region or window and annotate in place: arrows, text, and pixelated blur for anything private
- Record the screen or an area (⇧⌘9) with system audio, composed live over a gradient background, then turn short clips into a GIF (up to 45 s)
- Gradient backgrounds, padding and your own branding on every export
- Native Swift, about 2 MB, no subscription: $29 once
Circles, rounded corners and padding
macOS crops rectangles only: there is no built-in circle crop, and the workarounds involving Preview's alpha selection are fiddly and destroy quality. If what you actually want is a screenshot that looks presentable (rounded corners, padding, a background), that is framing rather than cropping: our free screenshot beautifier does exactly that in the browser, keeping the screenshot itself untouched.
Cropping screen recordings too
Half-related but constantly needed: a screen recording from Shift + Command + 5 cannot be cropped in Preview, but QuickTime trims its length (Command + T) and the crop-equivalent for video is recording a selected portion in the first place: the Shift + Command + 5 panel has a "record selected portion" button that does for video what the crosshair does for stills.